Ready, Steady, Shoot: How To Put A Camera On A Tripod The Easy Way!
Are you ready to improve your photography skills? It's time to invest in a camera tripod. Start shooting like a pro and gain more exposure today!

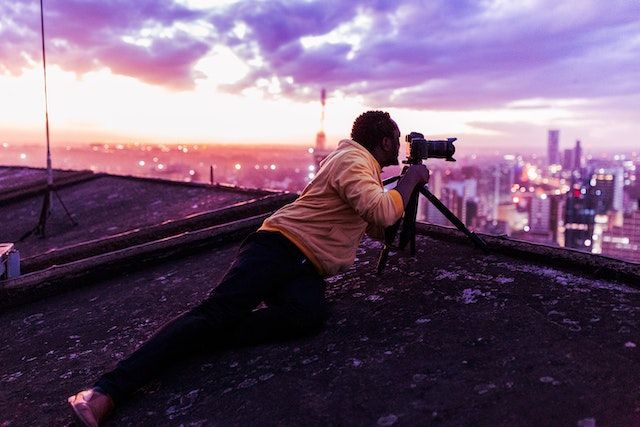
Do you want to take your camera photography to the next level?
Are you looking for a way to get cleaner, sharper photos that won't shake or move? As long as your camera has a tripod mount, it's easy to put on a tripod! Tripods are essential for any serious photographer who wants precision and stability in their shots. With this simple guide, we’ll show you how.
Imagine taking stunning landscape images with perfect clarity and crispness. Or capturing sharp close-up animal shots without worrying about movement blurriness ruining them. Now it can all be possible with one simple piece of equipment – the trusty tripod!
What Is A Tripod
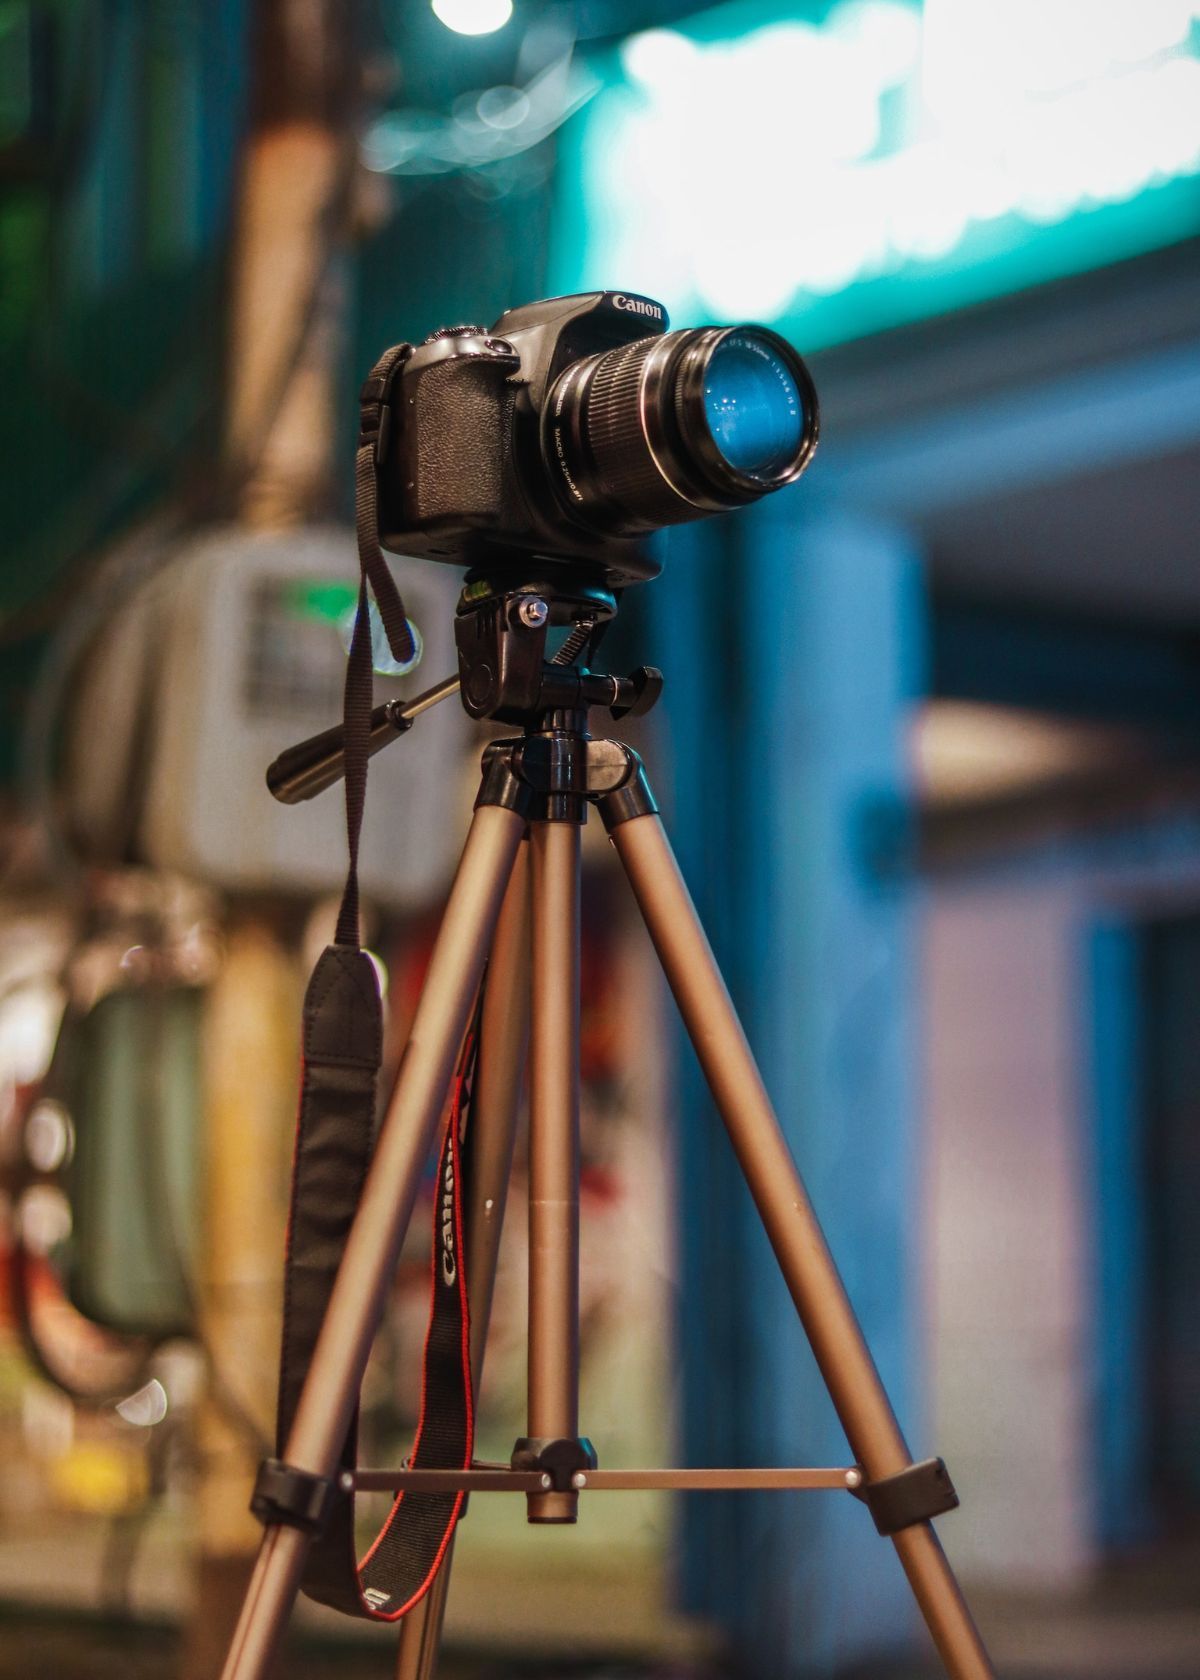
A tripod is a portable three-legged frame or stand, used as a platform for supporting the weight and maintaining the stability of some other object.
The three-legged (triangular stance) design provides good stability against gravitational loads as well as horizontal shear forces, and better leverage for resisting tipping over due to lateral forces can be achieved by spreading the legs away from the vertical centre.
Variations with one, two, and four legs are termed monopod, bipod, and quadripod.
Benefits Of Using A Tripod
The use of a tripod is an excellent way to ensure your photos and videos are sharp and clear. Tripods provide stability, allowing the camera to remain still while you capture images or video. This reduces camera shake and blurriness, resulting in higher-quality photos and videos.
- Tripods provide stability and can reduce camera shake, resulting in sharper images and videos.
- They make it easier to take precise shots, as they allow you to fine-tune the angle of your camera without having to adjust your hands or body each time.
- Tripods are great for long exposures and low light situations, when a steady shot is essential.
- By freeing up your hands, tripods allow you to use more complex equipment such as lights or filters on your shoot.
- Tripods offer flexibility when taking macro shots, with adjustable legs that let you capture unique angles from any height or distance.
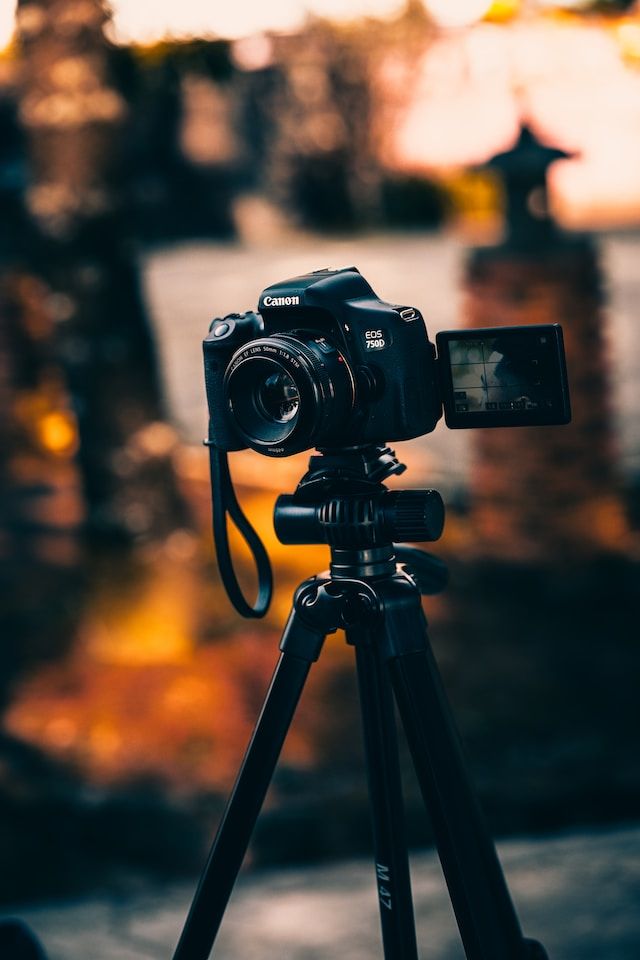
How To Put A Camera On A Tripod
STEP 1
Level your tripod. Some tripods have a built-in bubble level that allow you to adjust the base of the tripod until it is level. If yours doesn't, purchase a small level.
Place it on the base of the tripod to ensure that the tripod is level before you shoot pictures. If it is not level, you will need to extend or retract the legs until you center the bubble.
A level tripod is especially important when shooting panoramic shots with multiple images that need to connect seamlessly when developed. A tripod that isn’t level will give you pictures that are tilted.
STEP 2
Attach the camera to the tripod’s mounting socket. Depending on the type of tripod, the camera might screw directly onto the tripod or you might need to clamp the camera into place or tighten screws to hold the camera on the tripod.
This will help minimize blurriness that can occur when the camera is moving around on the tripod.
STEP 3
Attach an L-bracket to the tripod if you want to shoot portrait-style photos. Some tripods come with this bracket as an attachment. If your tripod doesn’t, you will need to purchase one at a hardware store.
You attach the short side of the bracket to the base of the tripod and the long side of the bracket to the base of the camera with screws. The bracket holds the camera at a 90-degree angle from the base and allows you to turn your camera on its side while still being attached to the tripod.
You will need to level the camera once it is attached to the bracket to avoid tilt when you take a picture.
STEP 4
Hang your camera bag from the center column of the tripod. This will provide you with additional stability to minimize shakiness.
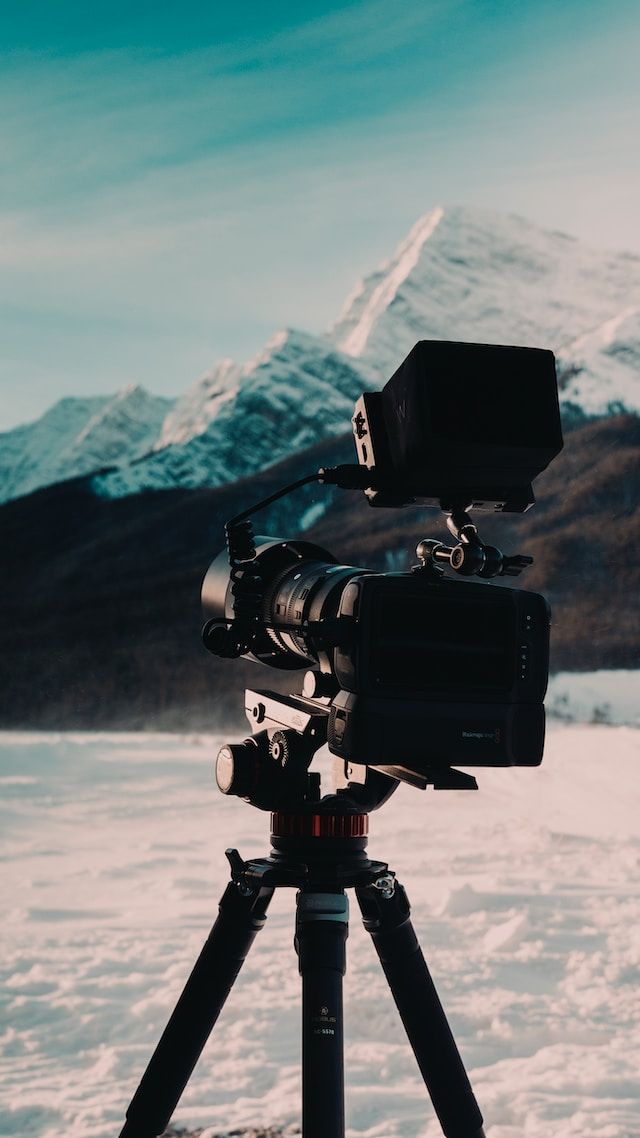

What Types Of Cameras Use Tripod
A tripod can be used with a variety of different camera types, including digital SLR cameras, point-and-shoot cameras, and camcorders. They also work well with mirrorless cameras and medium-format cameras.
The type of camera that fits on a tripod depends on the size and weight of the camera, as well as the size and weight capacity of the tripod.
Digital SLRs are generally heavier than other types of cameras, so it is important to make sure that the tripod can accommodate the weight and size of your chosen camera.
Point-and-shoot cameras and camcorders usually have lighter weights, making them easier to mount on tripods.
Mirrorless cameras are often designed for use with lightweight tripods as they are smaller than most DSLR cameras.
Medium format cameras tend to be on the larger side in terms of size and weight, so it is best to check the maximum load capacity of your tripod before using it with this type of camera.
Camera Tripod FAQs
You just got a new tripod but you're not sure how to use it.
It's easy to feel overwhelmed when you're trying to learn something new, especially if it's something as complex as using a tripod.
We've put together this helpful guide that covers all the basics of tripod use. From setting up your tripod to taking great photos with it, we'll show you how easy it is to get started with this essential photography tool.
How do I set up a tripod?
To set up a tripod, you will need to first unfold the legs and lock them in place. Once they are locked, raise the center column to your desired height and secure it firmly.
Next, attach whatever device you want to use on the tripod - whether it is a camera or a projector - by screwing it onto the mounting plate atop the post of the tripod. If your tripod has a bubble level, make sure it is even before taking pictures or projecting images.
Finally, adjust the angle of each leg as needed for stability before using your tripod.
How do I use a tripod properly?
To use a tripod properly, you should ensure that the legs are spread evenly and locked into position securely. Make sure that the head of the tripod is tightened and adjusted so that it is at the correct angle for your intended use.
Pay attention to the weight capacity of your tripod, as exceeding this can cause instability. Finally, when mounting a camera or other device onto the tripod, take care to tighten all screws and clamps securely to avoid any wobbling or shaking during operation.
What type of tripod should I buy?
When deciding which type of tripod to buy, it is important to consider the type of photography you will be doing.
For heavier equipment such as DSLRs and large lenses, a more robust and heavy-duty tripod with sturdier legs and a higher weight capacity is ideal.
If portability is an issue, then a lightweight aluminum or carbon fiber tripod should be considered.
Depending on the type of shots you'll be taking, special features like panoramic head design and adjustable leg angles may also be beneficial.
All in all, putting your camera onto a tripod is an easy and straightforward process that can help you get better-quality shots.
Whether you’re shooting landscapes, portraits, macro photography, or any other type of photo, a tripod can be an invaluable tool to have.
We've done the research so you don't have to! To browse our Top Picks for Best Tripod Case please click the link below!
 Ryan Mattox
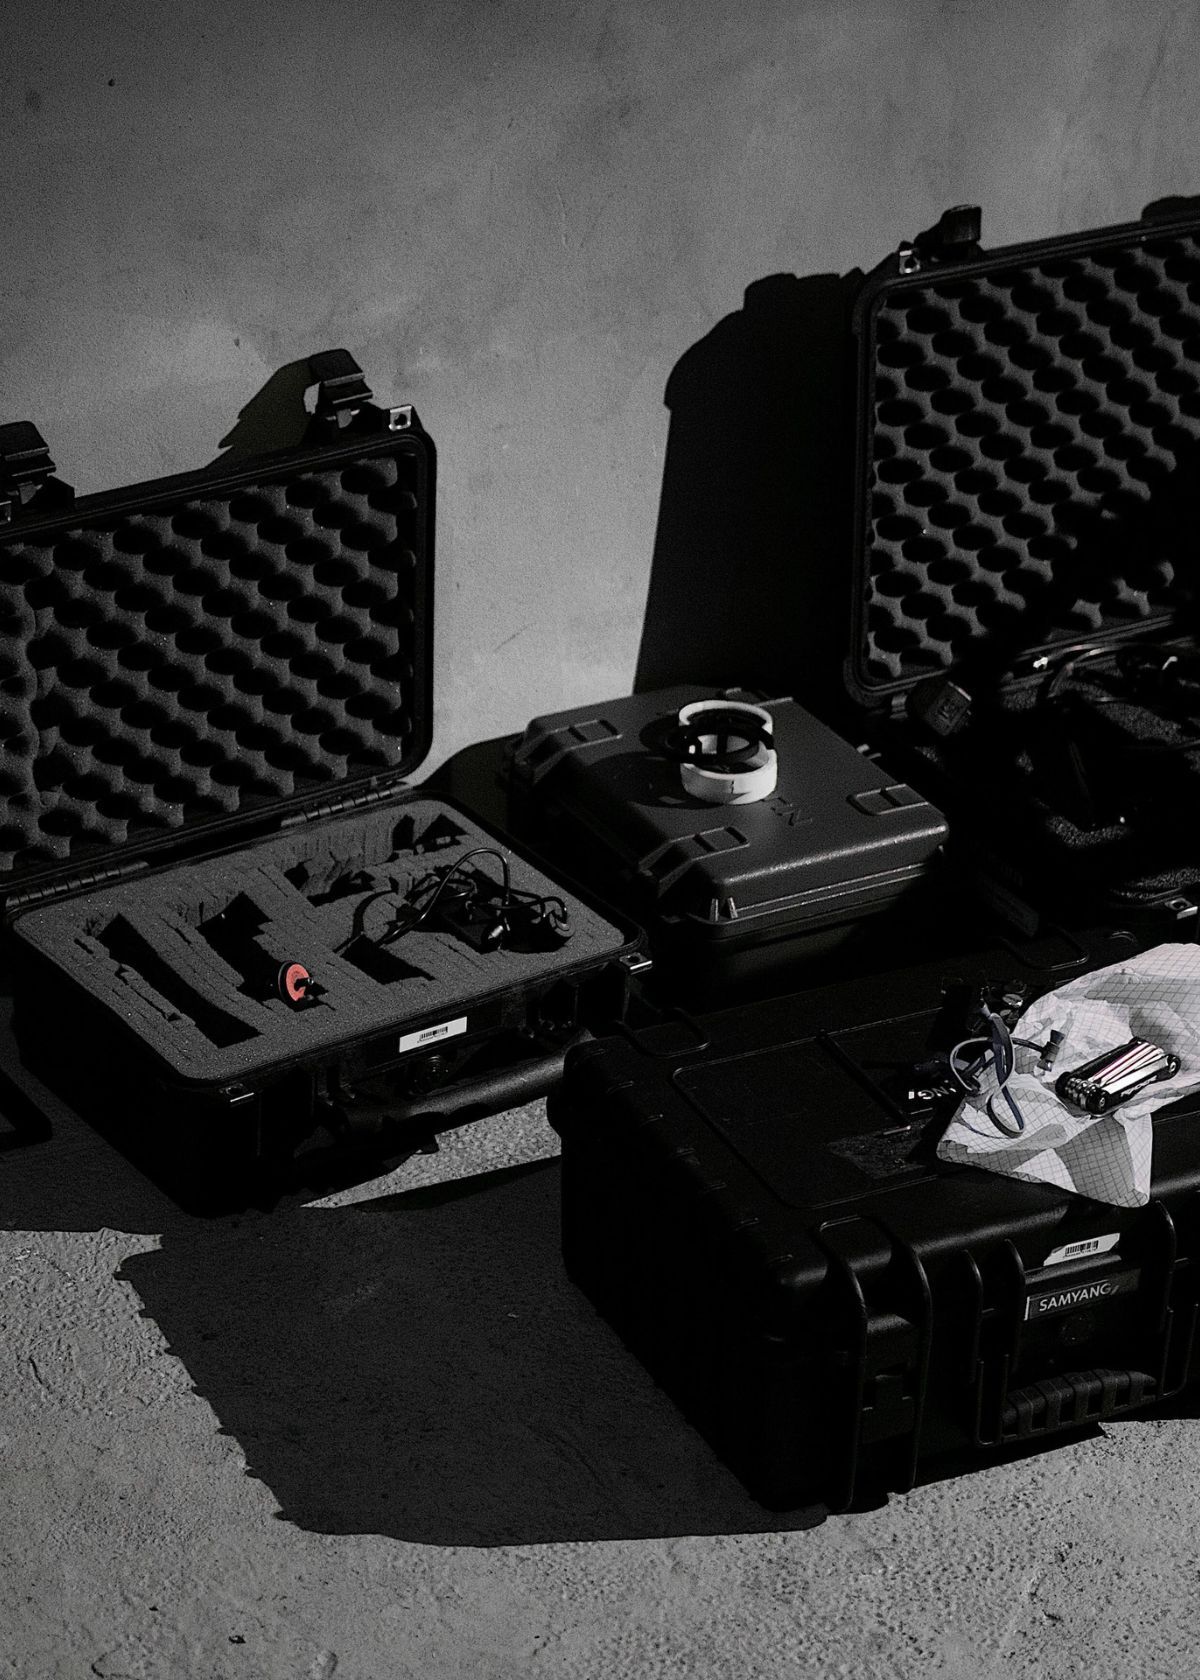
Your Friends,
LoveNatureReviews Team