How To Find Trail Cameras In The Woods
Trail cameras are an essential tools for outdoor surveillance. Don't lose sight of your next big game because you're left in the dark.

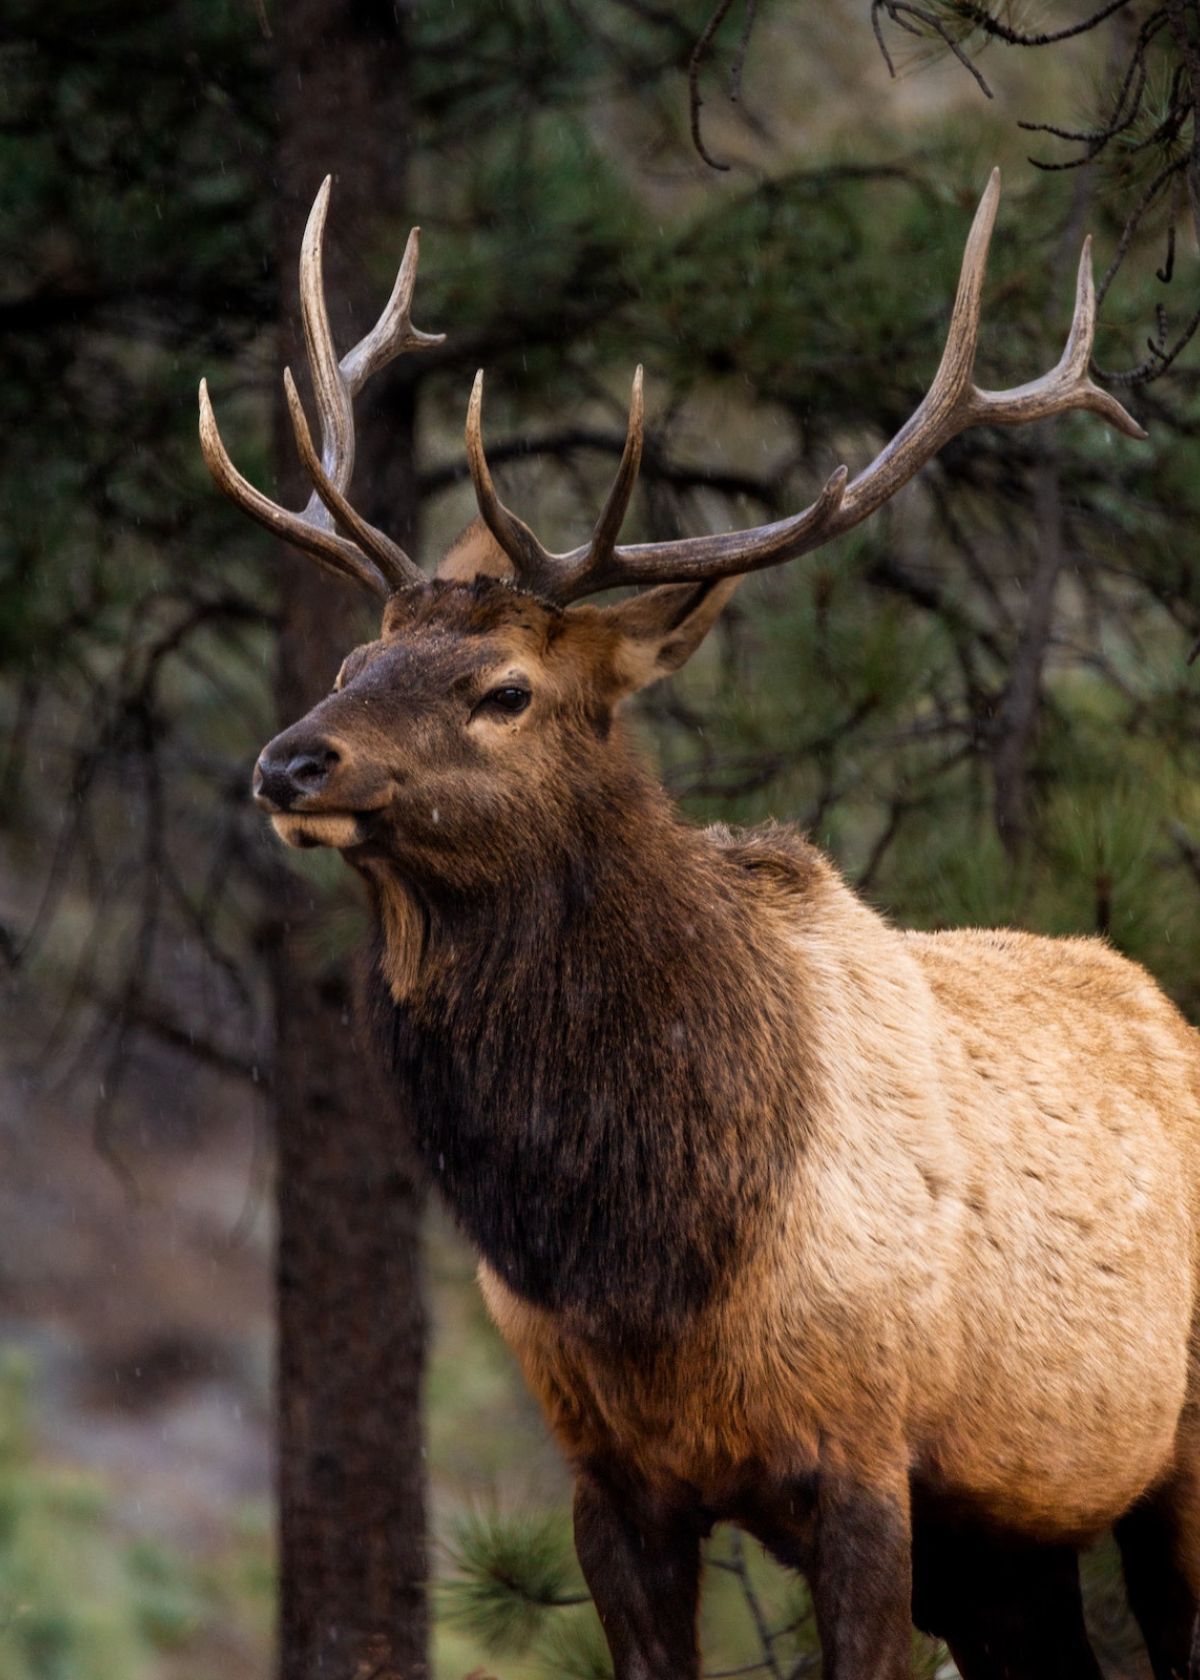
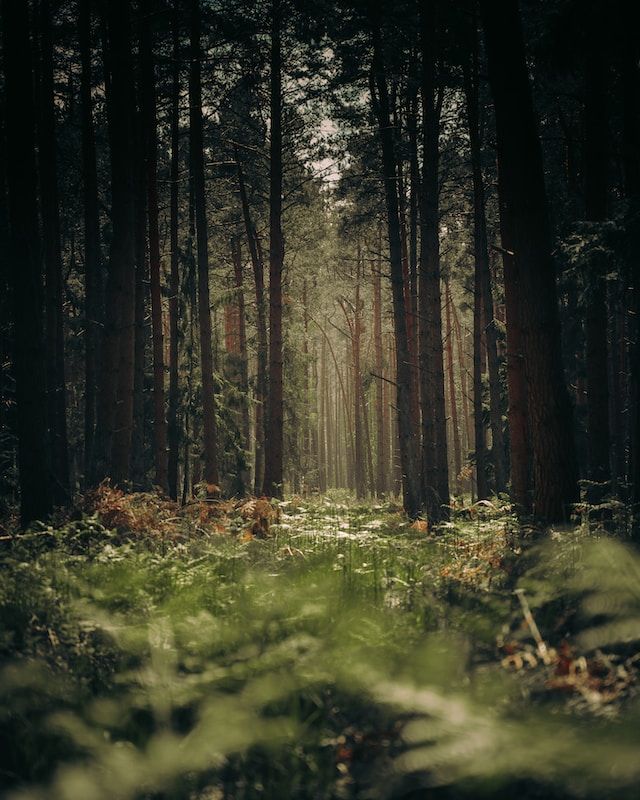
You can hike for hours without ever seeing a deer!
If you're looking to track animals in the woods, trail cameras are an essential tool. Not only do they save time by eliminating unnecessary searches through the forest, but they also provide evidence of where wildlife may be located and how active it is.
Trail cameras offer detailed images and videos of wildlife activities at any given moment—allowing savvy outdoorsmen to capture just the right shot that could make or break their hunt. With modern technology making these devices more affordable than ever before, you can quickly become an expert tracker with minimal effort!
Research your options now and buy yourself a high-tech trail camera today!
Why Are Trail Cameras Useful
Wildlife cameras, often called trail or game cameras, are cameras that are strategically placed on your property to take pictures and video of wildlife while you aren’t around.
The cameras are typically triggered by motion and store the pictures internally for you to view later. Originally, wildlife cameras were used in wildlife management research, but as camera technology improved they became affordable and available to the public.
There are many fun and educational benefits to placing a wildlife camera on your property. With the help of these cameras, you can develop a cumulative list of the diversity of wildlife species found on your property to supplement the wildlife section of your property’s management plan.
Wildlife cameras can also document the activity of rarely seen wildlife, monitor animals without disturbing them, and scout the presence and movement of game animals. Additionally, these cameras can be an added security measure if you are concerned about illegal trespassing on your property.
How To Mount A Trail Camera
Anchoring a trail camera to something solid prevents unwanted pictures caused by movement. After you’ve picked something rigid to mount the camera to, make sure the strap that fastens the camera is strong and not going to slip.
The straps provided on the cameras can vary in quality depending on the model of camera. If you are unhappy with the strap or unsure of its strength, replace the strap with a conventional ratchet strap.
As you fasten the camera to its rigid spot, make sure the trail camera is straight left-to-right and pointing where you anticipate the game is going to walk. Also, ensure there are no stray limbs, brush, or tall plants that are going to artificially trigger your camera.
If you can do so legally, trim any vegetation you think may sway in the wind and trigger the camera. To prevent the sun from interfering with your pictures, be conscious of what direction the camera is pointed.
Avoid pointing the camera directly east or west. This will prevent the sun from washing out your pictures at sunrise and sunset. If the camera must be pointed toward the sun, mount the camera higher than eye level and point the camera down toward the area you are trying to capture.
Pointing the camera down will insure the lens is shadowed to produce clear pictures.
How To Find Trail Cameras In The Woods
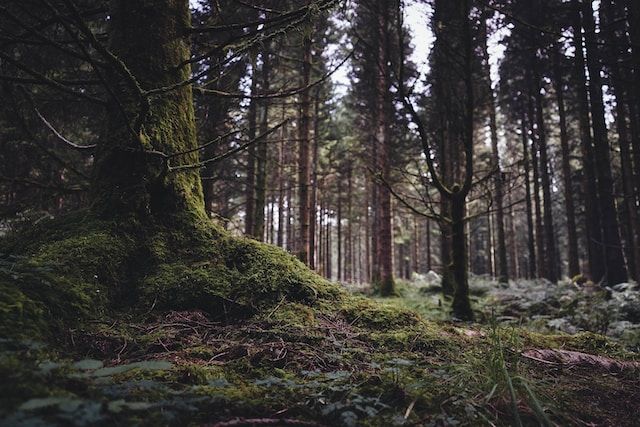
Have you ever been out in the woods and wondered if there were any hidden trail cameras? If so, you're not alone.
Many people want to know how to find hidden trail cameras in the woods. Fortunately, there are a few methods that can help you detect them.
One of the best ways to find trail cameras is to look for areas where there is food. This can include food plots, feeders, or bait piles. By looking in these areas, you may be able to spot a camera that has been set up by poachers or hunters.
You should also look for signs of recent activity such as broken branches or disturbed soil.
Another way to detect hidden trail cameras is to use a video monitoring camera disguised in a digital clock, USB charger or other piece of gear with the lens coverage aiming at the area where you suspect a camera might be located.
You can also use an RF detector which is very sensitive to radio frequency wireless signals emitted by many types of surveillance equipment.
By following these steps and using some basic detective work, you should be able to locate any hidden trail cameras in the woods with relative ease!
Trail Camera Setup FAQs
Taking amazing wildlife photos can be a tricky task. You’re never sure if your camera is set up correctly or if you’re missing out on great shots.
With all of your questions about trail camera setup it’s like you don’t even know where to start! Maybe you don’t know if you should use motion sensors, or if the batteries are strong enough. Either way your trails are ending in disappointment – not with the perfect shot of a wild animal.
That’s why we created Trail Camera Setup Questions. We answer all of your burning questions so that you can confidently set up your camera and take those stunning shots you’ve been dreaming of!
What is the best way to mount a trail camera?
When it comes to mounting a trail camera, there are a few different options to consider. However, the best way to mount a trail camera ultimately depends on the specific terrain and environment you will be working with. Here are a few key points to keep in mind when deciding how to mount your camera:
1. Height: It's important to mount your camera at the optimal height to capture the images you want. This will depend on factors such as the size of the animal you are trying to capture, the location of trails or feeding areas, and any obstacles that may be in the way. In general, a good rule of thumb is to mount the camera at chest height for deer or other similar-sized animals.
2. Angle: Another important factor to consider is the angle of your camera. You want to make sure it is pointing in the right direction to capture the action you are looking for. For example, if you are trying to capture footage of a specific feeding area, you may want to angle the camera slightly downward to get a better view of the ground.
3. Security: Trail cameras can be expensive, so it's important to consider the security of your camera when mounting it. You may want to mount it in a location that is less accessible to potential thieves or vandals or consider using a lock box or other security measures to protect your investment.
4. Type of mount: Finally, there are a few different types of mounts to consider when setting up your trail camera. Some popular options include tree mounts, ground mounts, and tripod mounts. Each has its advantages and disadvantages depending on the specific environment and terrain you are working with.
What type of batteries should I use for my trail camera?
When it comes to selecting the right batteries for your trail camera, there are a few different options available. The most common types of batteries used in trail cameras are alkaline batteries, lithium batteries, and rechargeable batteries.
Alkaline batteries are the most widely available and affordable option. They are easy to find in most stores and can provide ample power for your trail camera. However, they can run out quickly and may not perform as well in colder temperatures.
Lithium batteries are a more expensive option, but they offer longer battery life and perform well in extreme temperatures. They can also be more reliable in low battery situations, so you won't miss any important footage.
Rechargeable batteries are a great eco-friendly option, as they can be used multiple times and reduce waste. However, they can be less reliable and have a shorter lifespan than traditional disposable batteries.
How do I program my trail camera?
Programming a trail camera involves a few simple steps. Firstly, make sure your camera has enough battery life remaining and an SD card installed. The camera should have a settings menu accessible through its interface, which allows you to change options such as image resolution and trigger sensitivity. You should also set a time interval for the camera to take pictures - this will vary depending on your needs and the placement of the camera.
Most trail cameras also have options for video recording and time-lapse photography, which can be adjusted using the settings menu. It’s important to ensure that the camera is pointed in the desired direction and that the lens is free from obstructions. Once you’ve set the desired options, you can test the camera by walking in front of it and checking whether it triggers correctly.
Finally, leave the camera in place for a few days or weeks and return to collect your footage. By programming your trail camera in this way, you can capture valuable data on wildlife and behavior, or monitor areas for security purposes.
What is the best focus range for my trail camera?
When it comes to determining the best focus range for your trail camera, there are several factors to consider. First and foremost, it is important to understand the purpose of your trail camera.
If you are using it for wildlife photography, you will need to consider the distance at which animals are likely to be from the camera. Most trail cameras have a focus range of around 5 to 10 feet, which is typically sufficient for capturing images of animals in their natural habitat.
However, if you are using your trail camera for surveillance purposes, you may need to consider a longer focal range, as you will likely want to capture images of individuals or vehicles at a greater distance. In this case, it may be worth investing in a more advanced trail camera with a longer focal range of 20 to 30 feet or more.
How do I ensure proper lighting for my trail camera?
To ensure proper lighting for your trail camera, you need to consider a few factors.
Firstly, it is crucial to place your camera in a location that receives adequate lighting. Setting up your trail camera in an area with bright and even lighting will ensure that you capture clear and detailed images or videos.
Secondly, it is important to avoid direct sunlight or glare, as it can cause overexposure and wash out the images.
Thirdly, choosing a trail camera with an infrared flash or LED flash is highly recommended as it can illuminate the surroundings without alerting any game or intruders, especially at night.
Lastly, it is advisable to clean the lens of your trail camera regularly, as dirt and dust can affect the quality of your images. By keeping all these factors in mind, you can ensure optimal lighting conditions for your trail camera and capture high-quality footage.
After considering these tips and tricks, you should be well-equipped to find hidden trail cameras in the woods. While using a video monitoring camera or RF detector can give you an advantage in the search process, you should never forget to employ basic detective work such as looking for signs of recent activity.
By utilizing both methods and staying patient, locating any hidden cameras will become much simpler.
So if your goal is to know how to find hidden trail cameras in the woods, remember these methods and always have an eye out for anything that looks out of place!
We've done the research so you don't have to! To browse our Top Picks for Best Trail Cameras please click the link below!
 Ryan Mattox
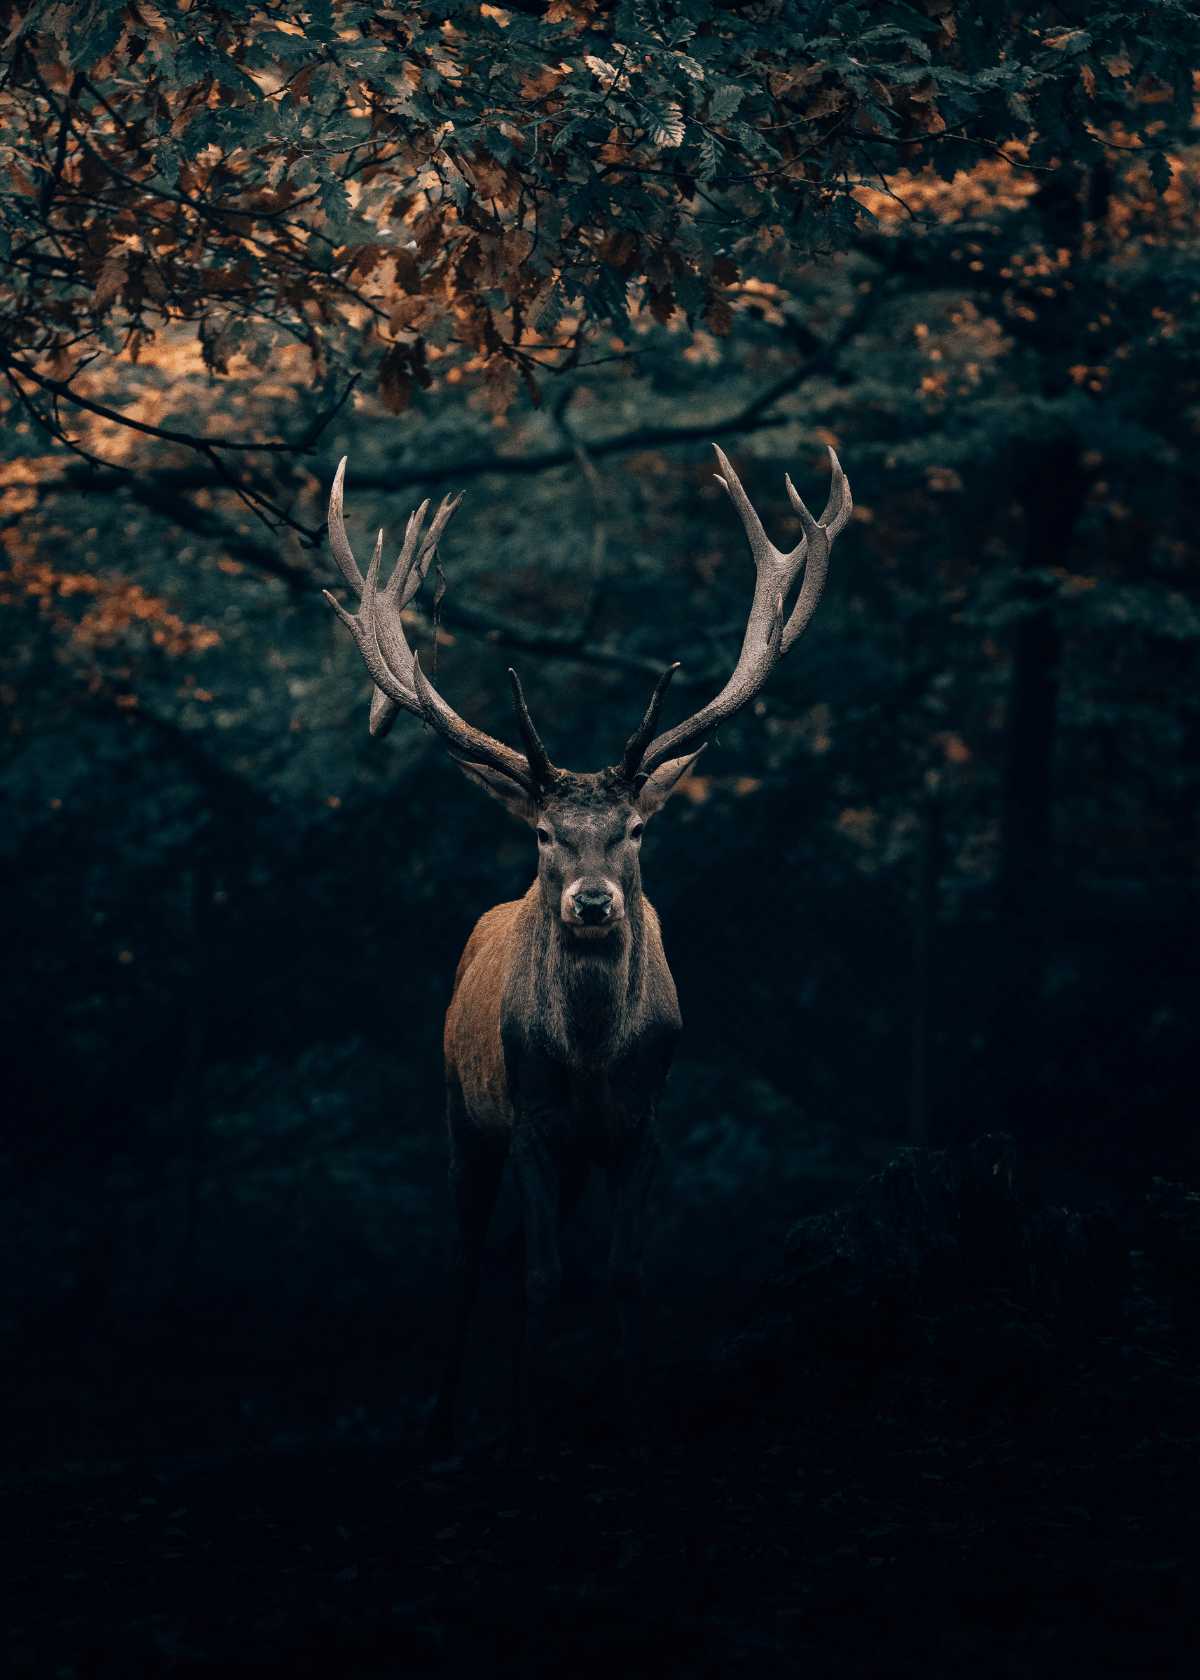
Your Friends,
LoveNatureReviews Team